Thursday, August 24, 2017

Canning Pickles

Oh my gosh! I love pickles. I could eat a jar of pickles a day! Last year I canned like 14 jars of pickles and they were gone by march. So this year I canned as many as I could stand doing. I think I ended up with about 45 Quart jars and 6 pints. Canning pickles is actually fairly easy. I have a simple recipe that makes good crunchy pickles.

Makes 7 pint jars
Ingredients:

Fresh Dill heads
Pickling cucumbers
Garlic cloves
Pickle crisp 1/4t for each jar

Brine:
8 1/2 Cups water
2 1/4 White Vinegar
1/2 pickling salt

Start by getting the water going in your canner. I fill mine about half full and get it boiling. 

I then get a small pan boiling for my lids. Add lids. boil 10 min

I also get my oven going at 225 and put my jars on a sheet pan to sanitize them. Set a timer for 10 minutes. Just turn off the oven after ten minutes and leave jars in there until you're ready to stuff them.

In a stock pot ad the brine ingredients and bring to a boil. 

Cut up your cucumbers if they need to be cut. Stuff the jars with desired dill and garlic amounts, add cucumbers and add pickle crisp now. (you can also add peppers or other ingredients if you choose) Fill jars with brine leaving 1/2inch head space. Wipe rims, and lids, seal with a ring. 


Move the jars to your water bath canner, and process for ten minutes. Remove the jars from the canner and let cool on the counter for 24 hours. The lids should seal, a con caved lid that doesnt move or make any noise is a sealed jar. If you have a jar that does not seal you can store it in the fridge until you're ready to eat it. It is recommended that you wait a minimum of 2 weeks after canning to eat otherwise they are probably just going to taste like cucumbers. 

Monday, August 29, 2016

Canning Potatoes

Recently I have been obsessed with canning. I know I sound like an old lady, but there is something very satisfying about preserving food you have grown, or in my case my brother and his girlfriend grew in their own garden. Turns out my brother got the green thumb passed down to him from our farmer ancestors. He has a garden filled with potatoes! Reds and Whites! Too many to eat. So we decided to try canning them. Or rather I was elected to be the one to can them. I went on a mission to find a Pressure canner and jars. You can just buy the jars and lids at the grocery store or Fleet Farm. I got lucky and found a pressure cooker from my lovely friend Pat who happened to be selling it on her garage sale. She just ended up giving it to me for FREE. 
     
So I go to my brother's house intending on getting a load of potatoes and getting right to it. It turned out they weren't quite ready. I got enough to do 7 Jars though. I got all my equipment ready and got to work.


I was told you need a lot of water for canning so the fist thing I did was boil a giant pot of water. I don't have a very big kitchen, so I decided I would need to use my crock pot. I turned it on and once my pot of water got hot I poured the clean plain water in the crock pot for safe keeping.

You need to clean the potatoes well. With a scrub brush. I filled my sink with water and rinsed them all then transferred them to a pot for precooking. 

You also need to clean and sanitize your jars.  I usually wash mine with water and soap and then soak them in boiling water for 10 min.  You will want to do this right before stuffing the jars because you want the jars hot. Also, you can sanitize in a 225 degree oven for 10 min if you don't have a lot of stove space.

I boiled my potatoes for ten minutes. You want them to be pliable to stuff your jars but not too soft or the will be mushy, also you want them to be hot through so they don't suck up a bunch of water in the canning process. Then, I pour them in a strainer because its easier to stuff the potatoes in the jars without them being in hot water.

 Meanwhile you should have a small pot with boiling water for the jar lids. I let them sit in there for like 10 minutes while I'm getting my jars prepped.


Next you will stuff the jars I put as many potatoes as fit in there up to the neck. Add 1 tsp salt to each jar.

Then ladle water into the jars up to the neck. You need to leave 1/2 to 1 inch of head space. But you wanthe potatoes to covered in water or they will turn black. If you leave too much room at the top they can mold.


Now load your pressure canner. Mine holds seven. My canner is an old one and it rattles when the canning processing is started. You need to read the instructions on your particular canner. Then let the thing cook for 45 minutes. After the 45 minutes, let your canner sit and depressurize. I you have a weight style pressure canner, nudge the weight after 30 minutes if steam is still pressurized wait another fifteen minutes. DO NOT let the pressure out all at once right away this can cause your canning process to not work. Once the pressure has come down you can remove the lid and set the jars on a towel or rack to cool.

 Don't move the jars around a lot. You should start hearing jars ping or pop after a while this means your jars have sealed. let them cool for 12 hours. Check for con caved lids. If your jars have sealed properly move them to a cool dark place for storage.   


If you are interested in canning your own food please try it! Make sure you follow the directions for your canner.


Friday, May 27, 2016

Christmas Caramels


Hey! Look I know its springtime. I know you're trying to get your summer body ready. Don't hate me for posting this!  You can always Pin now, and make later. In my family we always had these soft caramels at Christmas time. My mom works for the post office and a customer of hers would bring them at first. Then, mom started making them herself. Everyone loved them. A few cousins in particular. They were always begging her to make them. The only problem was the constant stirring and a candy thermometer, and all the time! I saw a post about microwave caramels and thought "there is no way this is going to work". They were obviously going to be crunchy or weird in some way. But, since I didn't want to spend time on making the old school kind I figured I would risk wasting a few bucks and give it a try. I made some, and they were perfect. I made a couple batches of them and got the recipe and technique down to my liking. So here goes...

Soft Caramels:
1/4 Cup butter
1/2 Cup White Sugar
1/2 Brown Sugar
1/2 Cup corn syrup
1/2 Cup Sweetened Condensed Milk
1/4 teaspoon salt

You mix all ingredients in a microwave safe bowl, I like to use the large pampered chef glass pitcher. Make sure there is room for bubbles in the bowl! LOL don't ask! Microwave for 1:30 stir, and repeat 4 times. For a total of six minutes. Pour into a buttered dish, and cool completely. Then cut and wrap in wax paper. These make great neighbor gifts around the holidays, or really just good any time.


  This is what they look like before they are cut!
Here they are all wrapped up and ready to be gifted!
                                  Merry Christmas- Melissa your ornament kinda looks good! Hahaha!


Monday, April 11, 2016

BBQ Bacon Meatballs

BBQ Bacon Meatballs

I have been kind of in a meat rut lately. Same crap every week. I was trying to think of something different, but also trying to use the 1/4 beef we bought. I have been grilling a lot since the weather is starting to warm up. So I came up with grilled meatball kabobs. This had potential for disaster, but I tried it anyway.

Here's what you need.
1.5 LBS Ground Beef
1 Slice of bread minced
Granulated Garlic
Kosher Salt
Pepper
Bbq Sauce I used sweet baby rays
Mustard 
1 Egg
6 or 8 strips of bacon
6 or 8 wooden skewers 

Here's what you do.
-Take the meat, bread, egg, about 1/2 teaspoon of each seasoning, about 1 T bbq, 1/2T mustard. 
-Mix together, and form into balls. 
I do about 1 1/2 inch balls. 
-Then, thread the bacon on the skewers while putting the meat balls on at the same time. 
-You can put them in the fridge to firm up a little bit before you grill. I have grilled them without chilling, but I think it works better if you chill. 
-Make sure you heat up the grill before you put them on this will help keep them from sticking. 
-Brush with bbq sauce when you put them on the grill. Each time you turn them sauce the top. 
-You will be able to tell when they are done by pressing on them to see if they are firm.

Enjoy!

Smores Bars

S'Mores Bars

I know this is a very easy recipe, but I had such good reviews from the trial run I've decided to post it. I know I'm not the first one to make this but I didn't follow a recipe I made it up when I saw the cereal in the store a couple of weeks ago. So here is what I did. 

Ingredient list:
6 T Butter
8 C Cereal
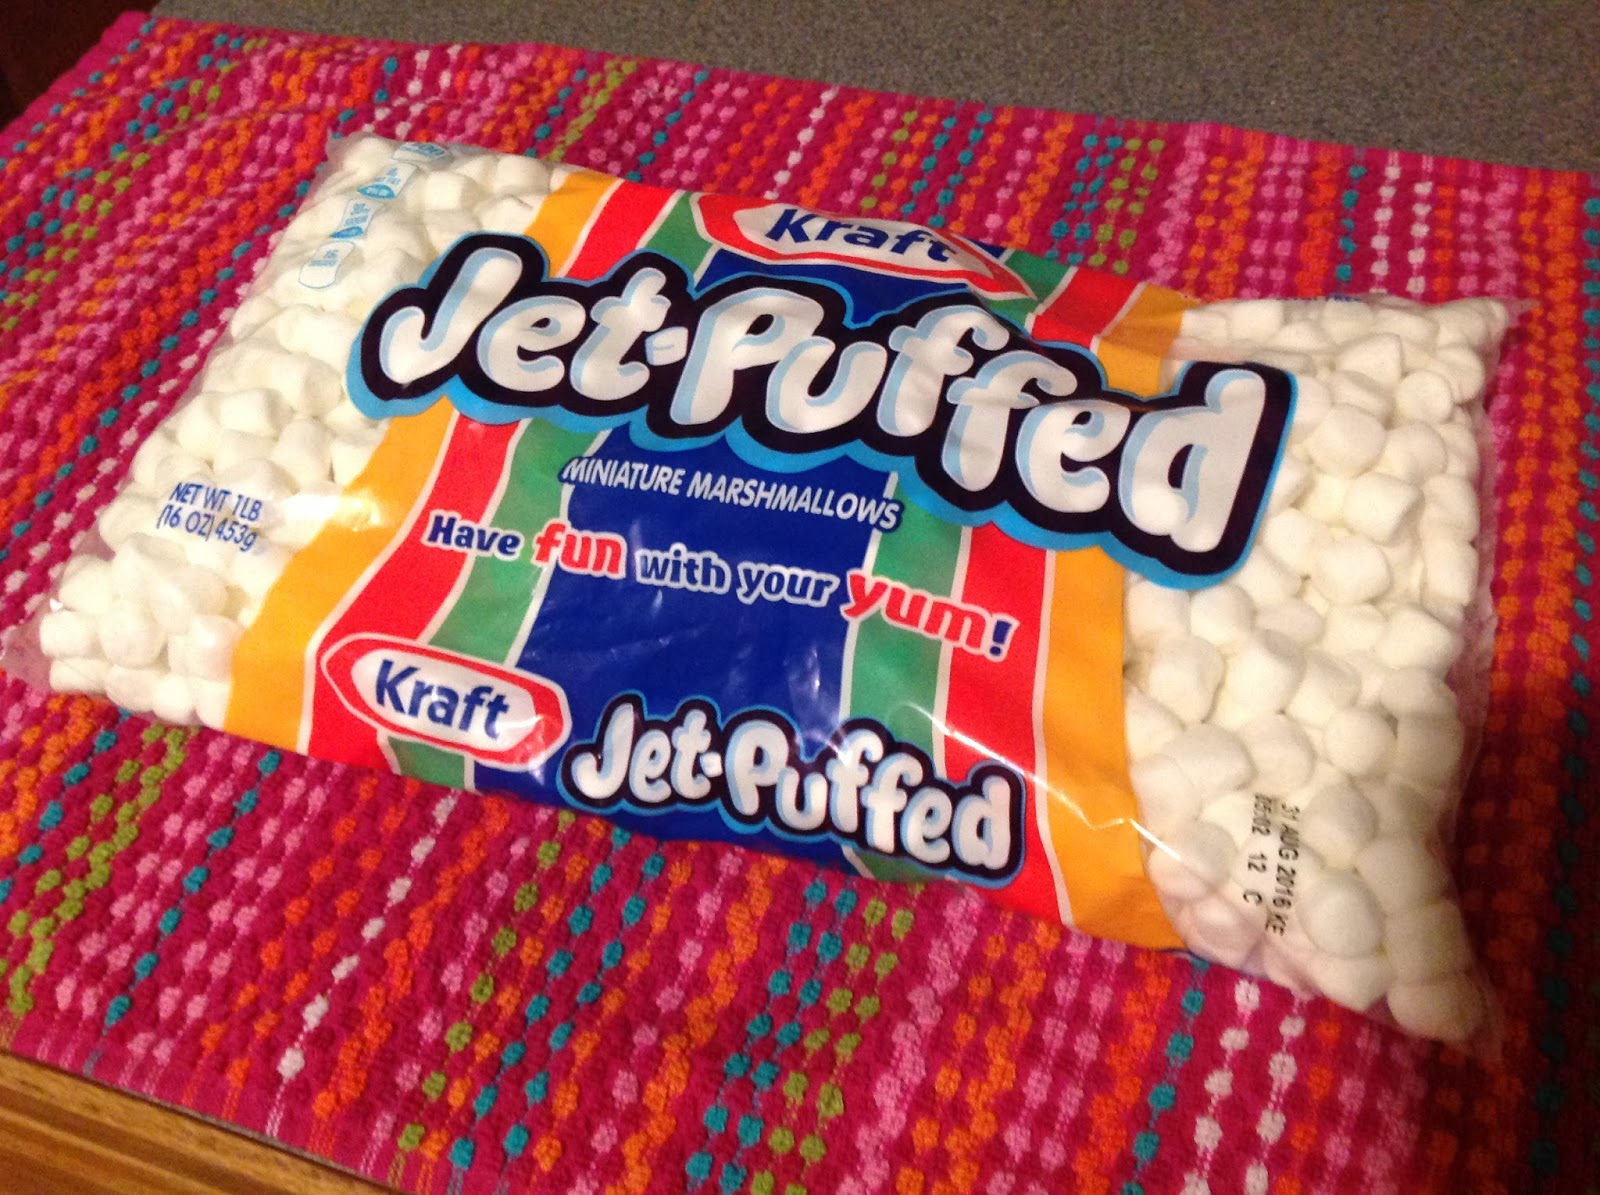
20OZ Mini Marshmallows
Half bag chocolate or white chips

I took 6 tablespoons of butter, a large bag of mini marshmallows 16oz and I also had a half of a smaller bag in my cupboard so I threw those in as well. I melt those in a large pan on my stove top. I stirred in 8 cups of S'mores cereal. I stirred in some white chocolate chips. Then, I poured the glorious mixture into a prepped pan (coated with butter). I use a 9x13 Tupperware pan. I know this seems simple, but I got so many compliments on them I felt the need to share with the world!


Wednesday, January 20, 2016

Parmesan baked Jo Jo potatoes.

I found this recipe in a Kraft Food & Family Magazine about 10 years ago and I use it 2 or 3 times a month. It's one of those recipes you can keep coming back to over and over because they are basically french fries and most people i know love fries! There is good news if you are on a low kick too, I made these the other night with rutabaga not carb free just less than a regular white potato.

Here is the recipe:
3-4 Medium sized potatoes I usually use the Yukon Gold ones.
1 egg white lightly beaten
1/4 Cup Parmesan cheese grated
Garlic salt I don't use a certain amount, I just know what we like. I like the kind with the parsley flakes built in.

Heat oven to 400 degrees.
Prepare a pan. Lightly rub olive or whatever oil you usually use. Spray is okay but I like a thin layer of oil so they get crispy.
Beat egg white in a bowl. Not for a long time, just a couple seconds so its frothy. Add Parmesan and garlic salt and stir.
toss the potatoes in the mixture. They will not be fully coated. it will look patchy.

Bake for 10 to 15 minutes they will start to brown. Turn over and back another 15-20 minutes. Sometimes I will flip a second time somewhere in the second time slot. Please watch these as oven times and temps do vary.  
 This is not my photo as I forgot to take a pic before we ate them (lol) but these look very similar to mine. Only I like mine crispy so mine are a shade or two darker.

Wednesday, September 17, 2014

Zucchini Fries

It's that time of year again! Well actually in my area it has just passed the time of year when everyone is giving me truck loads of zucchini!! For a few years I had no clue what to do with them. A lot of the time they sat on the counter or in the fridge for a week or so, then went into the garbage. Then, I decided that I wasn't going to waste them anymore. So to Pinterest I went searching for recipes. I found a zucchini fries recipe on Pinterest, but I have modified it to fit my taste.

Zucchini Fries:

1 Large Zucchini
2 eggs
1 cup flour
1/2 cup Panko bread crumbs
1/2 cup Italian bread crumbs
1/4 cup grated Parmesan cheese
Salt pepper garlic to taste

 Preheat oven to 425

Cut Zucchini into strips as shown below
In a wide shallow bowl place flour
In a second shallow bowl place lightly whipped eggs
In a third bowl mix the remaining ingredients

Coat the strips in each the flour (shake to remove excess), then in the egg, following by the bread crumbs. Line them up on a lightly oiled pan. You can use spray if you like. Bake for 10 minutes. Turn and bake for ten more minutes. They should be lightly browned on both sides. Serve with the condiments of your choice. My favorite is barbecue sauce.!


Tuesday, June 4, 2013

Raspberry Cheesecake Minis


Do you like cheesecake? I do but not that sorry excuse no-bake stuff. You might think well it so much easier!! Well, cheese cake is really not that hard to make and you aren't going to fool anyone with JELLO kind! I'm only kidding I will totally eat the no-bake variety, but I am not kidding when I say the real stuff is so much better. I have tried many different variations but this one is pretty simple and turns out awesome! So now that I have worked out the kinks here is the recipe:

Crust:

1 1/2 Cups graham cracker crumbs
4T Melted butter
3T Sugar

Raspberry Swirl:

6oz Fresh Raspberries or Blackberries
2T Sugar

Cheesecake:

2Lbs Cream Cheese
1 1/2 Cups Sugar
pinch of salt
1t Vanilla
4 large eggs

Yeild: 32

I start by taking the cream cheese out and opening it all to temp up a bit. Then, preheat the oven to 325 degrees. Then I start with the crust. Crunch up the graham crackers. You can use a food processor, or a hammer, or what ever works best for you. Add the sugar to the crumbs. Melt the butter in the microwave. Stir to combine. Then press into lined muffin tins.
 
Next I get the fruit swirl ready. The first time I made these I just smashed up the fruit with a fork. After that, I smarted up a bit. ha! Now i use my smoothie blender. It takes about 5 seconds. This is the time to add the sugar as well.
Before:
 
After:


Set that aside. Now it is time to make the filling. First I put  the cream cheese in my stand mixer and give it a good spin. Then, I add the sugar, and salt and give it another spin, like a minute or two.


Then I add the Vanilla, and eggs one at a time. Give it a 30 second spin after each egg on speed 2.


Now that the filling is done it is time to assemble the cheese cakes. I use a scooper to get the filling into the muffin cups. Then, I dot on the fruit. And swirl it around with a toothpick.


Once you have swirled all of your cheese cakes, its time to bake. (If you dont like fruit or you have a husband or child who is allergic or anti fruit, these are just as good plain. I have also done chocolate chip, peanut butter cups, anything you want.) These need to be baked in a water bath so the bottoms dont burn before the cheese cake is cooked. This simply means you put a jelly roll pan in the oven, then you pour water in that pan, then you set your muffin tin pan in tthe water and bake. These babies need to bake for 28-30 minutes. Light brown edges are okay but mean its time to come out! They will puff up quite a bit. They will fall back to normal as the cool.  


Top with fresh berries and whipped cream, or eat plain. I dare you to have just one!!


Monday, February 4, 2013

Spicy Sausage Dip


I know it has been a really long time since I have written here. I have been cooking a little less lately, and everytime I think about blogging I did not start taking pictures in time! I don't know maybe I am just lazy! Sometimes when I don't have an occasion to cook for the thought just passes me! Anyway yesterday was the SUPERBOWL. I don't care about the football game, I just go to the party for the snacks... The dip we will be making today is one of the recipes I made for our little superbowl party.  We also used to have a hockey mom that would bring this to those tournaments (that you stay at the hotel for a whole weekend and the parents all get plastered). I think it helped sober them up!


it's kinda like crack though....ADDICTING

Very EASY....

AND QUICK!!

I always double this recipe because once you open a package of jimmy dean what are you gonna do with it?

The recipe calls for:

1/2 LB Jimmy Dean regular ground sausage
1 Can of Rotel diced tomatoes and green chilies original
1 8oz pacakge of cream cheese

so just to Clarify I use:

1LB Jimmy Dean
2 Cans Rotel tomatoes
2 8oz bricks of cream cheese

Brown the meat and chop into small pieces during the process.


When the meat is fully cooked, drain it. Wipe out your pan with a paper towel. Return drained meat to pan. Turn heat on low.


Add cream chees and diced tomatoes.


Mix in and heat thouroughly stirring ocassionally.


When the cheese is all melted serve immedately, or move to a small crockpot to keep warm.
I like this dip best with tortilla chips. I have also eaten it with bread, crackers, pretzels, a spoon...you know whatever you like best!! ENJOY!! Doesnt look very good in the pictures, but thats why we don't eat pictures! GET COOKING


Tuesday, December 4, 2012

Potato Soup

Hello everyone busy time of the year again!! Christmas shopping, holiday parties, family get togethers and in my family's case ...birthday parties! But you know what is the best part is....it is soup season! We love soup around here. I make a lot of home made soup in the fall/winter. It is so easy, and you can eat it for more than 1 meal. I usually make enough to eat for dinner lunch and than dinner again...and if you get sick of it before then you can always freeze it for later!


Potato soup you will needs:

Medium onion
6 celery sticks
Garlic clove crushed
6 medium red potatoes
1 lb Jimmy Dean regular sausage
6 cup chicken stock
2 c cream or milk for lighter soup
6T Butter
6T Flour
Salt, pepper, garlic other seasoning if you feel the need


I start by cutting up the celery and onion, peeling and cubing the potatoes(about 1/2 inch pieces) and browing the sausage.


Once the veggies are cut up, put them in a stock pot with your 6 cups of chicken stock. This is when i would season my soup, including the clove of garlic! You could also wait until the cream is added. Drain browned sausage and set aside.


Boil the veggies until they are soft. Then add your cream. It is also time to make your roux. Melt the butter in a seperate pan, and mix in the flour, heat through. It should look like wet beach sand! Once the soup mixture with the cream has heated back to boiling add the roux. Mix in quickly with a wire whisk and let cook for about 3 minutes. Add the sausage and mix.


Soups on!

If you dont like pork sausage, you could try bacon, or ham, or turkey sausage! This is a really good fill you up soup and as always, super easy! You gotta try this soup!


Sunday, November 11, 2012

SIDE DISHES

It has been a while since I have written anything. Lets face it sometimes we all get in to a food funk, frozen pizzas and chicken nuggets out of a bag! I needed to find a way out of this funk  and it always seems like a cook the same side dishes over and over! So I have been experimenting lately to come up with something that goes with pretty much anything and also stands tall alone! This is my new recipe! Its super easy!

1/2 C Acini De Pepe pasta
1 half onion
5 small sweet peppers
1 can diced tomatoes
splash of milk or cream
salt, pepper, garlic


First, I start by getting the water going to boil the pasta. Also, I chop up the pepper and onion and saute it in a large non-stick pan.


I have decided to grill some nice center cut pork chops to go with my new recipe! They are pretty thick so I put them on now as well.


Once the water is boiling,add the pasta you only need a 1/2 cup, a little of this stuff really does go a long way! I found 12-13 minutes is the perfect time to boil. Drain then add to the saute pan with your peppers and onions. Now is also the time to add your canned diced tomatoes. I like the fire roasted garlic kind! I only add half of the can and later I can decide if it needs more! It would also be a good time to season the dish!


Okay, now mix it all together, and add your splash of milk or cream. like maybe 2 tablespoons.
 
 
Now heat through and its ready to eat!
 
 
Here I have paired it with my grilled pork chops.....
 
 
We have also had this is a main dish I added some bacon, but it is really not necessary it is good on its own! You could add cooked cut up chicken or steak. Very versatile! We love this around here! I am always looking for new side dishes, if you have an ace in the hole please share!


Tuesday, October 23, 2012

Stuffed steak rolls

I am always looking for a way to dress up cheap steaks. For some reason I am a meat stuffer....that doesn't sound good...oh but it is! Pork chops, pork loins, chicken breasts, burgers you name it I have probably, put cheese or something inside of it! ...and why not Cheese and bacon make everything tasty! One day I came up this stuffed steak recipe, we love it at our house!


Here is what you need:


Cheap steaks...I say like 2 chuck tenders
1/2 LB bacon
1 small onion
4 button mushrooms
4 slices provolone cheese
tooth picks


here is what you do...

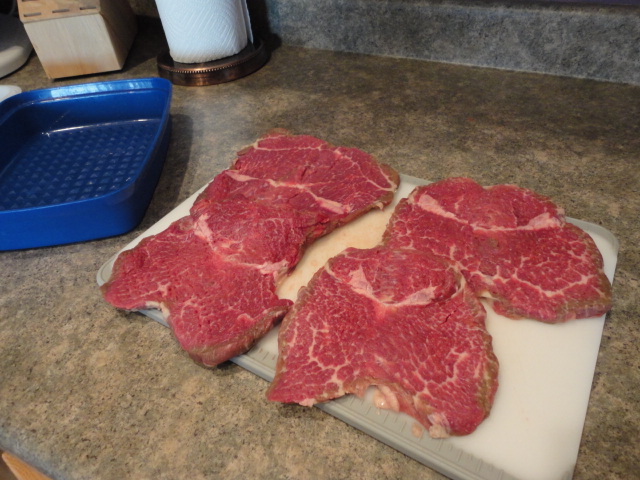
Pound out your steaks to about 1/3 in thick sometimes if they are really thick I will butterfly them before I pound them out. In this case, I did butterfly them!


Next I put them into my Tupperware marinating thingy ( I don't know the name) after sprinkling with salt, pepper, garlic, and worcestershire sauce. Then I put it in the fridge and let it sit anywhere from 30 minutes to overnight!


Meanwhile... I mince onion, mushrooms and bacon and saute until onions are soft. The bacon does not get crispy in this recipe...I like it this way. Some may prefer to have crispy bacon...I would recommend cooking the bacon seperate if you want it crispy. It is also time to chop up the cheese. I mix the cheese in after the bacon mixture is cooled a bit, and drained


After allowing the mixture to cool enough to touch I load some on to one of my prepped steaks.
Then I roll it uptucking the sides in as I roll, then I secure it with toothpicks.


Time to go out to the grill. They cook fairly quickly since the meat is pretty thin. The cheese will start to sneak out the sides! yum...when they are done to your liking, remove from grill and let rest for 5 minutes before cutting into!


 Pair with your favorite sides and chow down!